Wednesday, 21 November 2018

Adding the Locks


Both original locks were either damaged or rusted and needed to be replaced. I ordered two reproduction locks from Shenandoah Antique trunk Restoration 

The old locks removed showed the hole that the lock device sat into. There was a problem yep another one! with the new locks while the base shape fitted the same as the original, the actual design of the lock was different. 

The original was an all round shape that simply layed flat out over the trunks edge and fitted into it's mate on the other side. However, the new lock has an extended rounded point with a hook over latch attached to it. This didn't allow the latch to lay flush with the other sides metal edge, it was hitting under instead. 

Therefor the trusty 3mm ply was used to build it up. I cut a template using a coping saw and filed the scolloped edge with the needle file, seen below.


Damaged / rusted old locks


Locks removed and base shape showing


Rounded extended point with hook over latch.
Template underneath

Because the plate sat out higher I didn't need the use of the hole. Plus it now didn't line up anyway. So one good this was that the template didn't need to have the circle cut out. The only other problem was that the original holes were now out of alignment and could not be used.


The edge of the lock now met up with the metal edge of the other side and the lock closed together.
I did not want to fill the holes but tried to fit Chicago screws instead. This, although it might not look correct did work, and thats how it will have to stay.

The lock had the wording - Ohio Travel Bag stamped into the metal on the front plate. Fair enough, this did not bother me at all, but seriously! 'Made in China' was stamped right under it. 

This bugged me so much, like Hello! This is the front display, surly the stamp 'Made in China' could have been placed underneath. After all the work someone would put into doing up a trunk of any design and was in the need of a lock, would  want to have 'Made in China' splashed across its front. 

I distressed the wording out of mine, then also tickled a light spray of black randomly over the whole lock.   


Two original holes out of alignment.
Ohio Travel Bag label ... 'Made in China' removed


Chopstick use again


Chicago screws tucked underneath

I have always had the original  'dear little key' and wanted to display it with it's trunk. Although the modern key looks 'SO modern' I felt by having them together the original will help keep 'the new' inline and help tone it down. I also added a wee tassel for decoration.


I like having the original hanging with it's trunk- where it so belongs!


Thursday, 15 November 2018


Side Two 

Side two of the trunk with its compartment and drawers is way more complex than the hanging style of side one. I started with a photo shoot like I did with one. There are several areas of concern with this side so extra shots were taken of those areas.  

It is a bit difficult to write this section up in order because there is a lot happening that cross over to one and other. Photos below will hopefully help it come together.


1. Side view-not finished but showing the internals of the trunks


2. Front view
  

The Top Compartment Area


First up there is a bracket at the base of the dome compartment that had broken away from the trunk during it's travels. Also the bracket which sat at the front had come out of alignment. 

Both theses brackets line up the divide board between the three small drawers and the pull down compartment. They both need to be replaced as well as strengthened. I decided to replace the four brackets that hold the base board to this whole compartment as well.

I sensed there could be re-alignment issues in doing all of this, so for the first stage I set it all up as a simple 'mock up' run to start with.     


After gutting the compartment I decided to add the 3mm ply that I did not use in side one. 
I figured because there is no sliding rail to contend with, for added support the ply just might work on this side . A small block of timber was added to the base where the bracket is to be replaced. Also the 3mm board will be support for the bracket that goes on the front. 


 The dome bracket and the three metal small drawer rails were put back onto the divider board and side of the trunk. The brackets on the base board were also put in place.


There was a very bad split in on one side of the front timber trim that supported the pull down flap when closed. I glued and taped it and although it did work I was concerned that it will still be too weak to hold the leather strap that was to fit into it - I will review this later. 
But for now the timber trim was taped into position for the testing of the section and the new board that I was going to use for the flap.

Both brackets and divide board were tested in the mock up and worked just fine. 
Luckily I decided to put back the three drawers just to see how it was going to look. In doing this I found a large gap from the top edge. I pulled it all down re checked the drawer rails, put it all back again, still the same. I thought the base board was out of alignment, but it wasn't. I re-set it all again for the third time, and still the same.

This was starting to do my head in!.... I ended up going back into my original photos like I have done all the way through the makeover, only to find the I had places the rails upside down grrr! I guess the moral here is to always refer back to photos as you can't rely on memory alone, specially when there has been a time gap in-between working the job. 
Again ALWAYS take before and during photos and lots of them.


Top compartment - very sad!


Compartment pulled down - no turning back now!


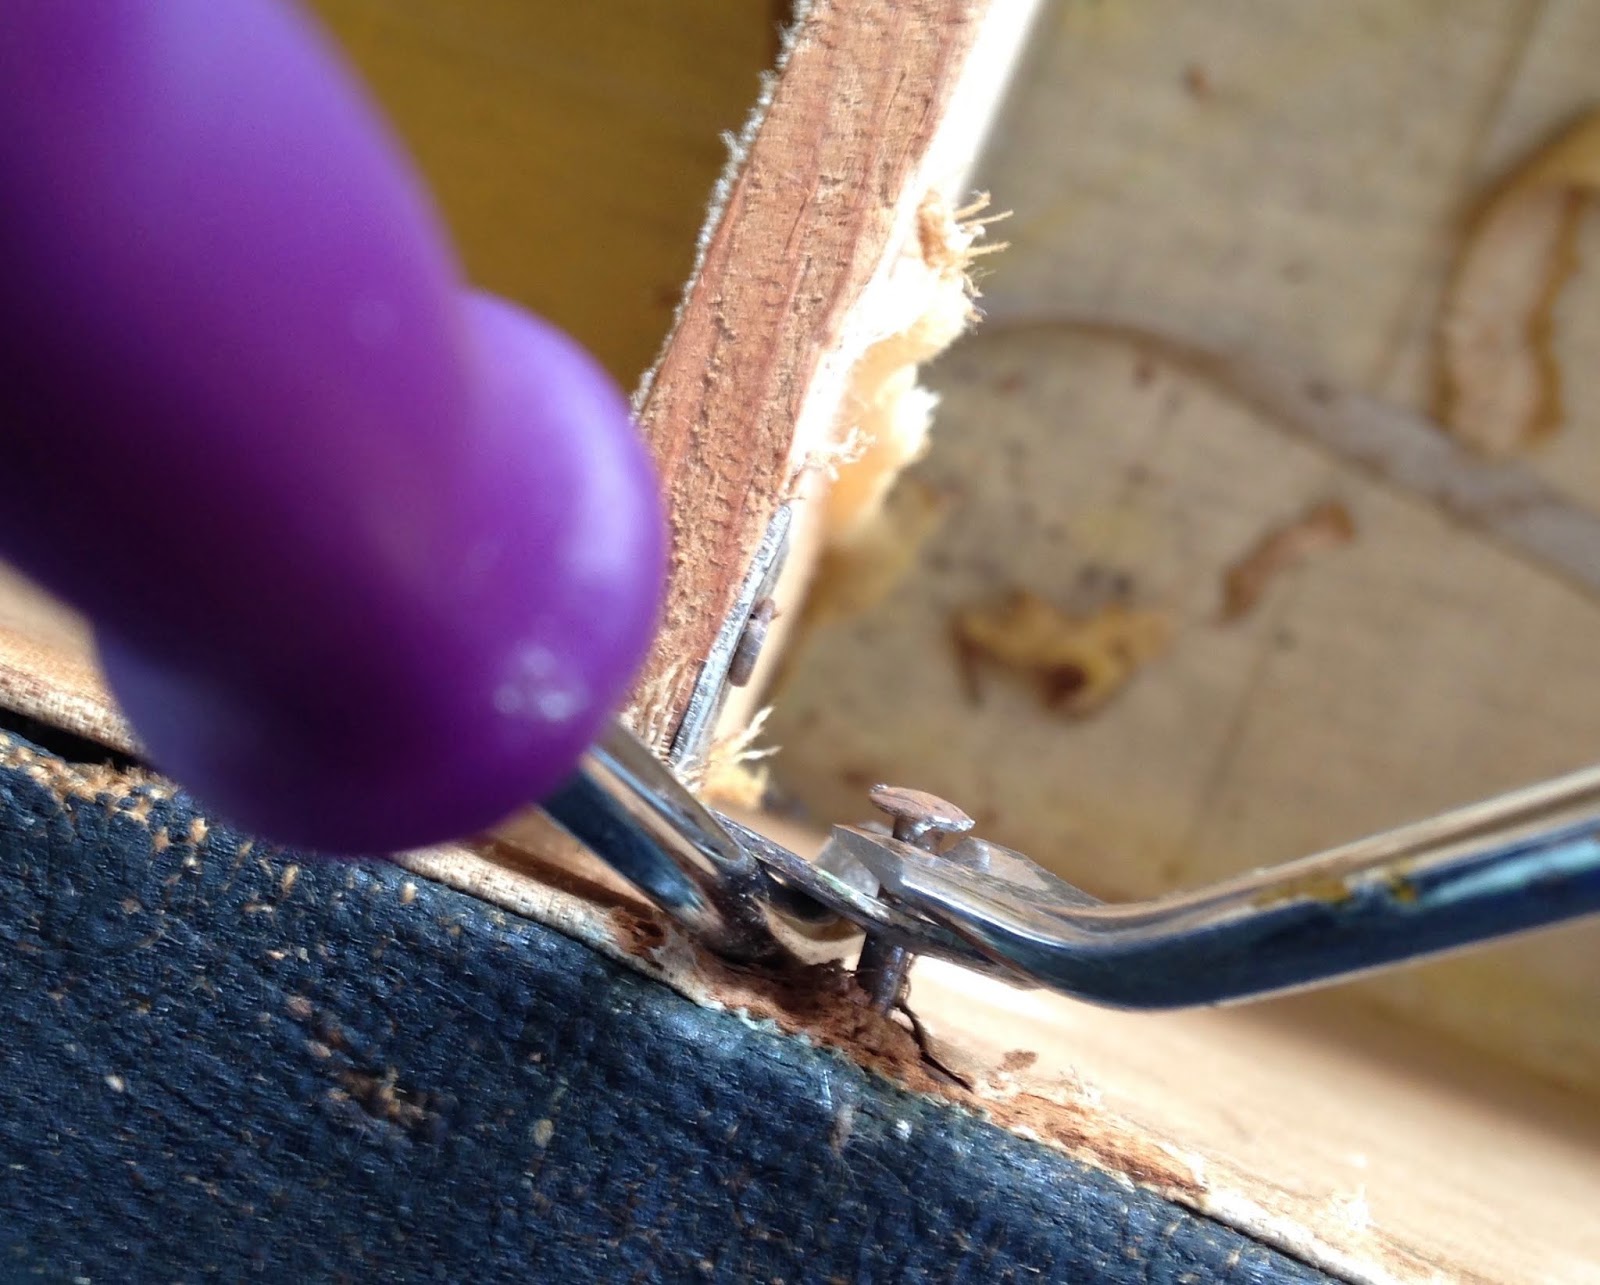
I could not believe the size and number of nails used
to hold this 5mm dividing board!


Inside bracket broken away at the base of the dome


Top bracket broken away from the front of the dome


Damaged right hand joint - bracket and divider alignment 

Close up of damaged timber joint and bracket


Very bad split in the timber trim of the pull down section


Timber added to inside dome section


New bracket added to the timber support at the base


New brackets added to one end of the base board


Once the mock up had been completed I pulled it all own, stripped all the lining, drilled out the remaining drawer rails and hingers from the pull down flap which were then cleaned and sprayed black. The trunk was then lined with paper and material like in side one once.


Once the trunk was lined with it's material I worked on the pull down flap. Again a piece of 3mm ply was used, this was lined the same as the drawers. Hingers were put aback on, I was worried that the Chicago screws would not fit side by side, but they did :-)


Pull down flap hinge 1


Pull down flap hinge 2


I could not use the original stud clips from the pull down flap, so I had to revert to magnetic clips instead. I did not have ant metal domes like that of the drawers, so I faked it by using dome shaped buttons, drilled them out and sprayed black. The metal rings would show on the second side of the flap so I disguised them by add ing two different size washers glued together and again sprayed black


Original stud clips

Magnetic clips

Back of the board with the fake look washers

Repaired timber joint


Completed section
 Fake buttons covering the magnetic clip fronts


Chopsticks were a great help when lining up the drawer holes and rails


Completed top compartment


Friday, 2 November 2018

Side Two - Canvas - Brass and Painting


I approached side in a different manner. This time I cleaned of the metal and brass with steel wool at the same.  This helped save time plus I didn't have to watch the canvas because that was going be done last. Also the initial brass cleaning didn't need the little template I used in side one to protect the paint work. 

When it came to painting around the base of the brass nail heads, I finally overcome the problem Yeah!... I did this by using plastic nozzle attachments used for large tubes of glue etc, the type that go into the 'metal trigger guns' found in hardware stores (pictured below)

I cut the nozzles into different sizes to fit the heads. This process worked so well, it cut the timeframe way down. Then once the paintwork was dry I did the final clean and buff of the brass nail heads using the little templates. I just wish I had thought of this process when I did side one! 


Plastic templates for final brass nail head cleaning


Once all the paint and brass work was complete I then cleaned, dyed and shellacked the canvas the same as side one.


Below show three shots of the brass, paint and canvas work on the base of side two


Rejoining Side One's Structure

With the lining of side one now complete it was time to re connect all it's internals, starting with the timber sliding compartment. All the way through my work on the trunk I have been concerned about the rejoining process. Specially with regards to the clinched nails and the individual angles that each nail aligned to, plus whether I could get them in as tight as the original trunk makers did.

Therefor, I decided to rejoin the trunk using Chicago Screws, also known as Binder Screws. 
I had to drill every external hole 6mm to accommodate the diameter of the screws shaft, while making sure the hole went straight and by passing the bends left from the clinched nail. This process was quite fiddly to do, but I got there in the end. 

Chicago screw open and closed


When putting back the sliding rail runners I noticed they would not go all they way to the back of the trunk. There was a problem with the thickness of the sewn edge of the material. I had to trim back the material from both corners to allow for the fit.

Another problem occurred with the rail section. While I managed to line the holes up to the sides of the trunk they weren't able to pull in tight because of the Chicago screw head.To overcome this problem I countersunk into the back of the timber to encase the screw head. 
This worked, but I feel I may have to do this in several other timber joining areas. Time will tell.

Timber sliding rail back in place 

The bent metal bar mentioned earlier was left as is rather than jeopardise cracking the timber, plus I like its character. Also mentioned earlier was the out of alignment hanger which I re-glued, well it actually popped out and a second re-glue was done. 

When getting it out of storage to put back in I noticed it had popped for the third time. I could have pulled it apart and chiseled out the half joints but decided not to beacuse the problem was mainly in the top join. This problem stemmed from the fact that the main centre length of timber was bowed at the top. A small sawed out section was made into the tight side to release some pressure.

This worked to a degree but I did felt that it may pop again, so I thought what the heck, I will screw it as well with Chicago screws. I set two on a diagonal as well as another two sets further down the length, to aesthetically tie it in.  


Timber hanger full length view


Once the sliding section was complete the hangers were removed to allow for the timber side supports to go back in. Yep, as I thought more counter sinking of screws was needed as well as a slight chiseled section. To complete this area the sliding rail needed to be removed three times to make all the adjustments needed. A bit of a pain but I kept at it and achieved the results.


Bent centre metal rod and diagonal screws of timber hanger
as well as a view of he top end of the side support finally in place

Once this section was completed I felt I could finally say I had completed side one except for the addition of the two cane holders which could not be done until side two was re-attached because I knew the Chicago screws would be very close to the back hinges and they may need to be nailed back in at a slightly different angle.


Hangers and Slider complete


                                                Before and After shots of side one internals


Front view completed except for the locks


Completed side view-with it's scars and re-painted (distressed) stripe 

There are a lot of errors within the trunk, But hey, It's the best I can do as a novice and I'm happy enough with my efforts! 


Thursday, 1 November 2018

Re-lining the trunk


 Cardboard was nailed at the base of the curved dome section on the top which needed to be replaced. I originally cut a sheet of 3mm ply and used it instead of cardboard to give it more strength. After nailing it in place I realised later that I had to take it out because the ply, being thicker than the original cardboard meant that when the slider tray was put back in, it would not line up properly with the holes from the slide of the trunk


I had trouble finding thick cardboard the size I would need and I did not want to join two pieces together because it would leave a weakness to the section. I ended up gluing two pieces of art cardboard together then trimmed it to size and nailed it back in with the original tacks. I was a little concerned that this cardboard would not be as strong as the original!.


Lining with paper
The original material on the trunk was a thin non fraying type which was glued in one layer all the way around the front edge of the trunk. Whereas, the Loincloth being thicker, did fray, so I added a sewn edge to it. The two front edges could have done without the sewn edge because they would have the wooden trim put back over them, but I still edged it, just in case.

After the paper lining I added a layer of padding to the bask section. I wanted to use something a but firmer to the fibre lining I was using for the drawer fronts. I ended up finding some thick felt from an ironing board cover, this worked perfectly. 


Padded lining

Next came the material lining of the trunk. I used a method demonstrated by 
Matt from Antique trunks and chests where he starts from the top edge and works back into the trunk.


 Material lining added


When I originally lined the three small drawers, I tried a spray material adhesive but I found it not strong (probably good for light craft work) but not for this task, so I used PVA instead.
The PVA being stronger worked fine, However, when the material on the two side panels finally dried it left blotches from where it has soaked into the loincloth. Not happy! 

Not having enough material to cover the sides again, I had to purchase more. It was now months since my original purchase of the material and even with material and name code when I returned home the material had a different dye lot tone. Double not happy!! 

Anyway it can't be changed, I just had to use it. Now my trunk has a two toned look to the lining. Ah well, perhaps I should have bought more material in the original purchase, but how would you know... plus there is the expense to think about.


I always planed to have an edge across the bottom front of the base for two reasons:
A/ it will the edge more strength if things were to be placed at the base.
B/ I never liked the look of how the original material just laid across the front. I also decided to add a row of brass upholstery pins all the way around the base as well as a row down the centre of the trunk. 


Material lining - Tie down straps - Leather straps - Metal clips added